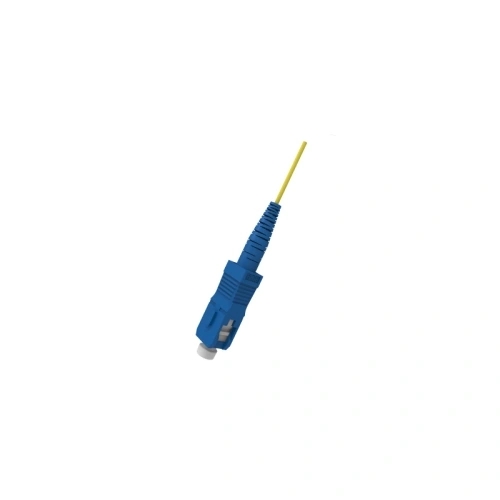
Complete Fiber Optic Patch Cord Connector Installation Guide for Beginners

What are the installation steps for fiber optic patch cord connectors? If you are new to this, don't worry! This easy-to-follow guide will provide you with detailed instructions on how to install fiber optic patch cord connectors with precision. Follow these steps diligently, and you will have a secure and reliable fiber optic connection in no time.
Step 1: Gather the Necessary Tools and Equipment
Before starting the installation, make sure you have all the required tools and equipment. Here is a list of items you will need:
- Fiber optic patch cord connector
- Stripping tool
- Crimping tool
- Fiber optic cleaver
- Fiber optic cleaning solution and wipes
- Heat shrink tubing (if required)
- Heat gun or heat shrink oven (if required)
Step 2: Prepare the Fiber Optic Cable
Start by stripping the protective coating from the fiber optic cable using the stripping tool. Follow the manufacturer's guidelines for the recommended length of stripped fiber. Once stripped, clean the exposed fiber using the fiber optic cleaning solution and wipes. This step ensures a clean and smooth surface for proper connectivity.
Step 3: Prepare the Fiber Optic Patch Cord Connector
Take the fiber optic patch cord connector and slide it onto the prepared fiber optic cable. Make sure the connector is properly aligned with the cable before proceeding. If heat shrink tubing is required, slide it onto the cable before attaching the connector.
Step 4: Crimp the Connector
Use the crimping tool to secure the connector onto the fiber optic cable. Apply steady pressure and ensure that the crimp is tight and secure. This step is crucial for maintaining the integrity of the connection.
Step 5: Inspect and Test the Connection
Once the connector is crimped, inspect the connection for any signs of damage or misalignment. Use a fiber optic cleaver to trim excess fiber if necessary. Perform a continuity test to ensure a reliable connection. If everything looks good, proceed to the final step.
Step 6: Apply Heat (If Required)
If you are using heat shrink tubing, use a heat gun or heat shrink oven to shrink the tubing onto the connector. Follow the manufacturer's instructions for the appropriate temperature and duration of heat application. Allow the connector to cool down before handling.
In summary, installing fiber optic patch cord connectors involves gathering the necessary tools, preparing the fiber optic cable, attaching the connector, crimping the connector, inspecting the connection, and applying heat if necessary. By following these steps carefully, you can ensure a successful and reliable fiber optic connection.
PCB Panel Cutting Machine: Lessons from Handling Thin and High-Density PCB Panels


