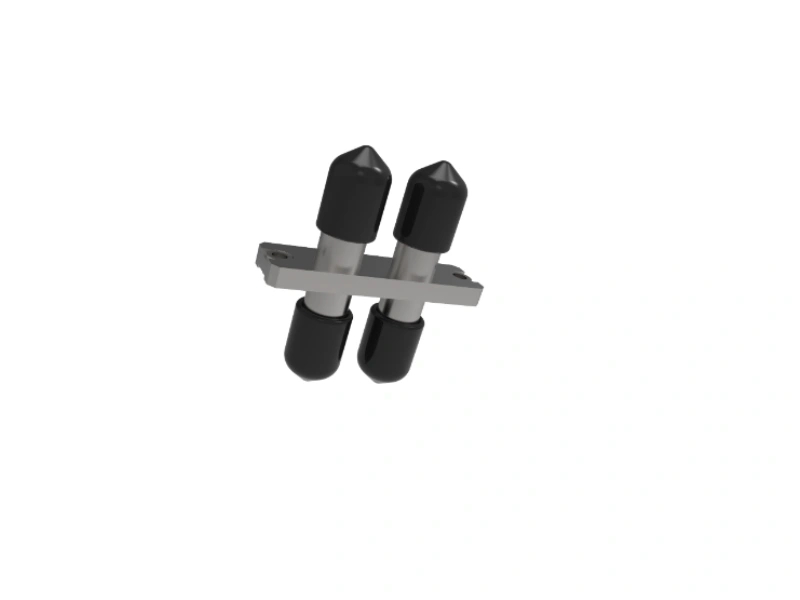
An Introduction to Fiber Optic Adapter and its Importance

Fiber optic adapters play a crucial role in ensuring seamless connectivity and transmission of data in modern networking systems. These small but essential devices facilitate the connection between fiber optic cables, enabling efficient communication between devices and networks. This comprehensive guide will provide you with step-by-step instructions on how to effectively use a fiber optic adapter.
Step 1: Preparing for Adapter Installation
Before installing the fiber optic adapter, ensure that you have all the necessary tools at hand, such as a fiber optic cable, connector, and a cleaver. It is important to clean and inspect the fiber ends, ensuring that there are no scratches or damages that could impede signal quality. To do this, follow these steps:
1.1 Cleaning the Fiber Ends
Using a lint-free cloth and fiber optic cleaning solution, gently clean the ends of the fiber cables. Remember to always inspect the cloth before use, ensuring it is free from any debris that could scratch the fiber ends. Wipe the ends in a straight motion, avoiding circular movements that may cause further damage.
1.2 Inspecting the Fiber Ends
After cleaning, use a fiber optic inspection microscope to thoroughly examine the fiber ends. Any scratches, contamination, or irregularities could impair signal transmission. If any issues are detected, replace the damaged cable or contact a professional for repair.
Step 2: Installing the Fiber Optic Adapter
Once the fiber ends are cleaned and inspected, follow these steps to install the fiber optic adapter:
2.1 Aligning the Fiber Optic Cables
Carefully align the fiber optic cables with the adapter ports. Make sure the ends of the cables are securely inserted into the adapter, leaving no exposed fibers. Any misalignment or poor connection may result in signal loss or degradation.
2.2 Securing the Connection
Gently push the cables into the adapter until you feel them click into place. This ensures a secure connection and prevents accidental disconnection. Avoid applying excessive force, as it can damage the cables or the adapter itself.
Step 3: Testing the Connection
After installation, it is crucial to test the connection to ensure proper functionality. Here are some steps to follow:
3.1 Using an Optical Power Meter
Connect an optical power meter to one end of the fiber cable and the other end to the device or network. The power meter will measure the strength of the received optical signal. Compare the readings with the recommended power range. If the values fall within the specified range, the connection is successful.
3.2 Verifying Data Transmission
To further confirm the connection's reliability, test data transmission between devices or networks. Transfer a sample file or perform a network speed test. If data is transmitted without errors or significant delays, the fiber optic adapter is functioning effectively.
Conclusion
In conclusion, understanding how to properly utilize a fiber optic adapter is vital for maintaining a flawless network connection. By following the steps outlined in this guide, you can ensure the seamless installation and functionality of fiber optic adapters. Remember to always handle fiber optic components with care, keeping them clean and inspecting them regularly for any potential issues.


