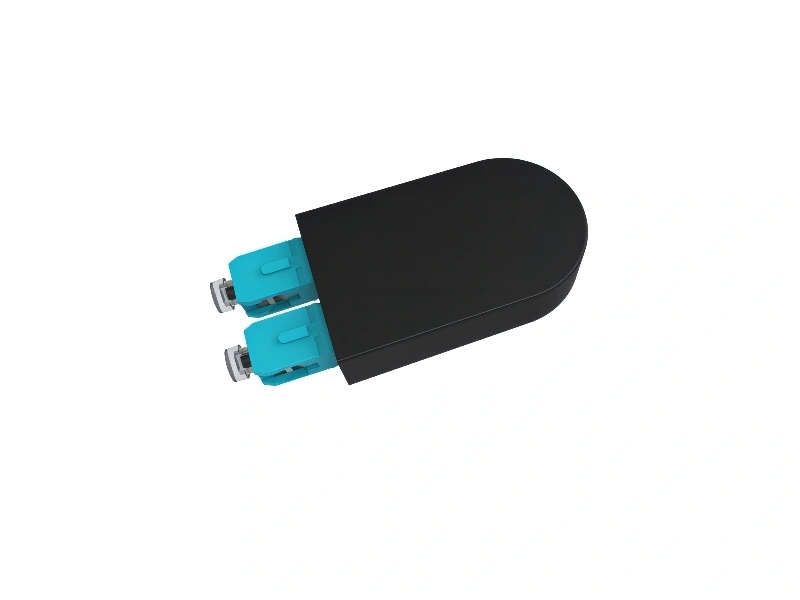
Step-by-Step Guide to Assembling the Fiber Optic Connector A8 Positioning Version

Fiber optic connectors play a crucial role in ensuring a reliable and efficient fiber optic network. The A8 positioning version is no exception. In this guide, we will provide a detailed and comprehensive overview of how to assemble the fiber optic connector A8 positioning version.
Step 1: Gather the Required Tools and Materials
Before starting the assembly process, make sure you have all the necessary tools and materials. These may include:
- Fiber optic connector A8 positioning version
- Fiber cleaver
- Fiber stripping tool
- Fiber optic cable
- Lint-free wipes
- Epoxy adhesive
- Fiber optic polishing film
- Isopropyl alcohol
Step 2: Prepare the Fiber Optic Cable
Start by stripping the fiber optic cable using a fiber stripping tool. Ensure that the stripped section is clean and free from any debris. Next, cleave the fiber using a fiber cleaver to obtain a clean and smooth end face.
Step 3: Apply Epoxy Adhesive
Take the fiber optic connector A8 positioning version and carefully apply a small amount of epoxy adhesive to the inside of the connector ferrule. Be cautious not to apply excessive adhesive as it may create difficulties during the assembly process.
Step 4: Insert the Fiber
Gently insert the prepared fiber optic cable into the connector ferrule, making sure it is centered. Push the fiber all the way in until it reaches the stopper inside the connector. Avoid any excessive force that may damage the fiber.
Step 5: Cure the Adhesive
Allow the adhesive to cure as per the manufacturer's instructions. Typically, this involves placing the connector in a curing oven or applying heat using an appropriate method. Be patient and allow sufficient time for the adhesive to fully cure.
Step 6: Polish the Connector
After the adhesive has cured, remove any excess adhesive using a lint-free wipe moistened with isopropyl alcohol. Next, polish the connector ferrule using fiber optic polishing film. Follow the recommended polishing techniques and ensure a smooth and polished end face.
Step 7: Final Inspection
Once the connector has been polished, visually inspect the connector end face using a fiber optic microscope. Look for any scratches, dirt, or imperfections. If necessary, repeat the polishing process until a satisfactory result is achieved.
Conclusion
Assembling the fiber optic connector A8 positioning version requires attention to detail and precision. Following the steps mentioned in this guide will help you correctly assemble the connector, ensuring optimal performance and reliability in your fiber optic network.


